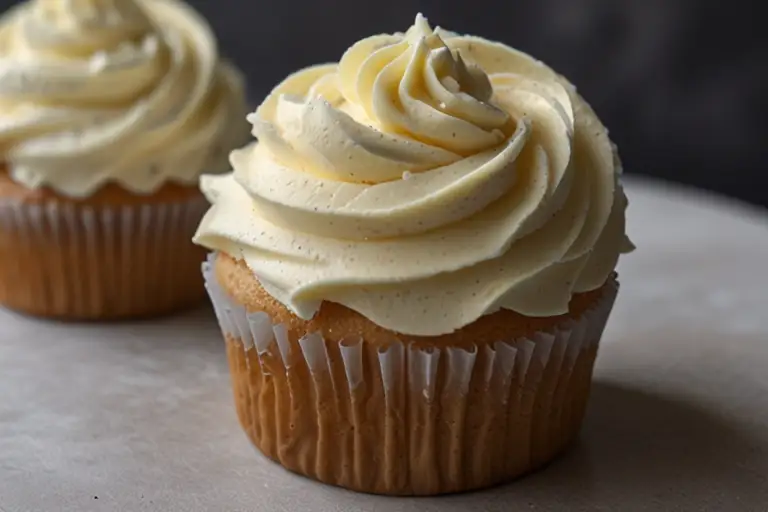
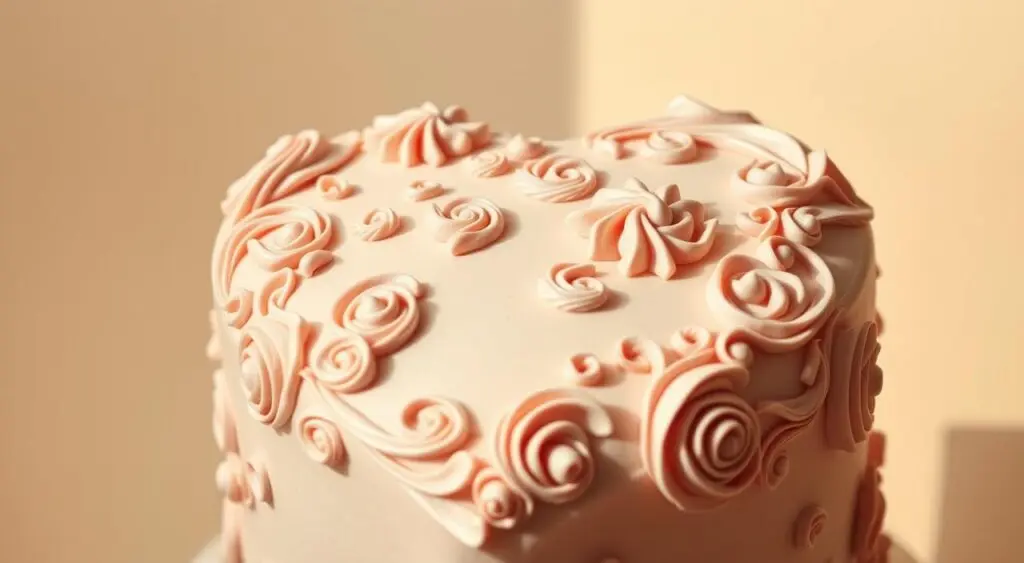
Nothing says “I care” like a homemade heart cake, a dessert shaped with love and thoughtfulness. Whether it’s Valentine’s Day, an anniversary, a birthday, or any day you want to make special, a beautifully crafted sweet treat instantly sets the mood for celebration. The best part? You don’t need fancy molds or special tools to create something truly memorable.
To craft a heart cake, you can transform basic round and square cake layers into a charming heart shape with just a few strategic cuts. Once assembled, cover the cake in smooth buttercream or a velvety frosting in colors that reflect the occasion soft pinks or pastels for a romantic feel, or bold, vibrant hues for birthdays and other lively celebrations. Using piping tips like Wilton 4B or 32 adds elegant swirls or delicate rosettes, giving your cake a professional, bakery-quality look without the need for extensive experience.
The beauty of the heart cake lies in its versatility. It easily adapts to any occasion baby showers, engagements, anniversaries, or even “just because” moments when you want to brighten someone’s day. Customize it with colors and decorations that align with your theme, and let your creativity take the lead. The process may be simple, but the result is nothing short of magical, transforming an ordinary day into a heartfelt celebration.
Table of Contents
Ingredients and Tools You’ll Need
Every great dessert starts with the right ingredients and tools. Whether you’re baking from scratch or using shortcuts, quality matters. Below, we break down essentials for a fluffy base, creamy frosting, and professional-grade decorating.
Cake Ingredients for a Fluffy Base
For a light, moist texture, use fresh ingredients. Here’s a detailed list with substitutions:
| Ingredient | Measurement | Substitutes |
|---|---|---|
| All-purpose flour | 2 cups (240g) | King Arthur GF flour or Bob’s Red Mill 1-to-1 |
| Granulated sugar | 1¾ cups (350g) | Coconut sugar (1:1 ratio) |
| Eggs | 4 large | Flaxseed meal (1 tbsp + 3 tbsp water per egg) |
“Room-temperature eggs blend smoother, creating an even crumb.”
Cream Cheese Frosting Ingredients
This tangy-sweet frosting pairs perfectly with citrus or vanilla flavors. Avoid lumps by softening butter and cream cheese thoroughly.
- Cream cheese: 2.5 packs (563g), full-fat for stability.
- Butter: 1 cup + 2 tbsp (252g), softened but not melted.
- Powdered sugar: 3 cups + 2 tbsp (375g), sifted.
Essential Tools for Shaping and Decorating
Precision tools turn a basic bake into a masterpiece:
- Serrated knife: Cuts layers cleanly.
- Wilton piping tips (4B, 32): Creates swirls and borders.
- Cake turntable: Ensures even frosting application.
For vibrant colors, use AmeriColor gels. A cardboard template helps assemble symmetrical designs effortlessly.
How to Shape Your Heart Cake
Shaping a heart cake may seem tricky, but with a few simple steps, you can transform two ordinary round layers into a beautiful symbol of love. Whether it’s for a romantic occasion like Valentine’s Day or a special celebration, this guide will help you create a perfectly shaped heart cake that looks as good as it tastes.
- Prepare the Cake Layers
Start by baking two 8-inch round cake layers, which will provide the ideal size for shaping your heart cake. To make cutting easier and cleaner, chill the cake layers in the refrigerator for about 30 minutes. Chilled cake is less likely to crumble, helping you achieve sharp, clean cuts. - Cut the First Layer
Place the first chilled layer on a piece of parchment paper or a cardboard template. Using a sharp knife, cut two right-angle slices (about 5 inches long) from opposite sides of the round cake. These cuts will form the “point” of your heart. Set the trimmed pieces aside, as you’ll use them later to complete the heart shape. - Shape the Top Curves
With the remaining round portion of the cake, place the two trimmed pieces on the top to create the heart’s rounded curves. To secure them in place, use a thin layer of buttercream as a “glue.” The buttercream not only holds the pieces together but also acts as a base for a smooth finish when frosting the cake later. - Repeat with the Second Layer
Once you’ve shaped the first layer, repeat the process with the second layer to create two identical heart-shaped pieces. Make sure to align the cuts and curves so that both layers match perfectly when stacked. - Assemble the Cake
After shaping both layers, it’s time to assemble your heart cake. Spread a layer of buttercream between the two heart-shaped cakes, ensuring that they’re aligned. Once assembled, use more buttercream to crumb coat the entire cake before adding your final layer of frosting or decorating.
With these simple steps, you’ll have a perfectly shaped heart cake ready to impress!
| Cutting Tip | Tool | Purpose |
|---|---|---|
| Sharper “V” | Paring knife | Post-crumb coating definition |
| Even edges | Serrated knife | Smooth curves |
“Chilling prevents crumbs and ensures sharp edges key for professional results.”
Troubleshooting: If edges are uneven, carve lightly with a paring knife. Save scraps for tasting samples or cake pops—zero waste!
Chill assembled layers for 15 minutes before frosting. This locks the shape and makes decorating easier.
Frosting and Assembling Your Heart Cake
A flawless finish starts with mastering the basics of frosting and assembly. The right techniques ensure smooth edges and a stable structure, turning your baked layers into a showstopper.

Crumb Coating for a Smooth Finish
When making a beautifully decorated cake, like a heart cake, achieving a smooth and polished finish starts with a crumb coat. A crumb coat is a thin layer of buttercream (about ½ cup) applied to trap any loose crumbs and create an even surface. To do this, use an angled spatula to spread the buttercream evenly over the cake. Once applied, chill the cake for about 30 minutes. This step is crucial because it “seals” the cake’s surface, preventing any crumbs from mixing into the final layer of frosting.
Pro tip: Warm your spatula by dipping it in hot water before spreading the buttercream. This helps create smoother, more precise strokes. Cold layers of buttercream also hold their shape better, making it easier to add fine details during the final decoration.
Whether you’re preparing a classic round cake or shaping something fun like a heart cake, the crumb coating helps ensure your final frosting layer is free of crumbs and smooth.
Buttercream Consistency Tips
The consistency of your buttercream plays a vital role in both crumb coating and decorating. For a heart cake, or any detailed cake, aim for a medium consistency stiff enough to hold swirls and shapes but soft enough to spread smoothly. You can adjust the consistency by adding milk (about 1 teaspoon at a time) or by chilling the buttercream for about 10 minutes if it becomes too soft.
“Perfect buttercream should ribbon off a spoon but not slump,” meaning it should flow slightly but hold its shape when piped. To test the consistency, pipe a small swirl. If the swirl holds without sagging, you’re ready to proceed with decorating.
When assembling, use a small amount of buttercream as “glue” between layers, especially if your cake has curved tops, like with a heart cake. Stack the layers gently and refrigerate for 20 minutes to allow the structure to set before applying the final coat of buttercream and any decorative elements.
Essential Tools:
- Offset spatula for smooth spreading
- Icing smoother to create even edges
- Piping bags for precise decorations
You’ll need about 9 cups of buttercream (three batches) to cover the cake completely, including the crumb coat, final frosting, and any decorative swirls or accents.
Decorating Your Heart Cake Like a Pro
Elevate your dessert game with professional techniques that wow. From vintage piping to personalized messages, these finishing touches transform your bake into a centerpiece.

Piping Techniques for Timeless Designs
When decorating cakes, especially those with a fun theme like a heart cake, using classic piping techniques can elevate your design. Shell borders using a Wilton 4B tip add a timeless charm, perfect for giving your cake a neat, polished look. To achieve this, hold the piping bag at a 45-degree angle and apply steady pressure to form even arches along the edge of your heart-shaped creation. Ruffles, another beloved design, can be made using Tip 102. With gentle back-and-forth motions, you’ll create soft waves that pair beautifully with the romantic theme of a heart cake.
If you’re adding a personal message, such as “Happy Birthday” or “Be Mine” on a heart cake, Tip 3 is your go-to tool for writing clean, delicate script. Before piping, chill your dessert for about 10 minutes this step helps prevent smudges and ensures your writing stays sharp. According to a baking instructor, “Practice on parchment paper before piping directly onto the cake for precision.” This is especially helpful if you’re piping intricate designs like initials, names, or special messages.
Creative Messages for Every Event
The message on a heart cake can be as playful or sentimental as the occasion calls for. Match the phrases to the celebration theme. For birthdays, consider using favorite song lyrics or even the recipient’s zodiac sign for a personal touch. Short and sweet messages like “XOXO” are perfect for anniversaries, while including milestone numbers like “30” or “50” works well for special birthday celebrations.
For an added level of creativity, use cookie cutters in the shape of hearts, stars, or letters as stencils. Lightly press them into the frosting and either trace them with edible markers or fill them in with piped buttercream. This technique makes creating intricate designs much simpler and can be a fun way to add flair to your heart cake.
Color Palette Inspiration
Color can set the entire mood of your heart cake. For a vibrant ombré effect, mix AmeriColor Deep Pink and Fuchsia to create stunning gradient shades that flow across the cake. White-and-gold combinations are timeless and elegant, especially suited for weddings or anniversaries. Meanwhile, soft pastels in pinks, purples, or blues bring a charming touch to baby showers or Valentine’s Day celebrations.
If you’re layering multiple colors or want a gradient look, start by adding food coloring gradually to the frosting, adjusting as you go for the desired effect. Don’t worry if you make a mistake during the piping process simply chill the cake, then scrape off the flawed section and start fresh. Garnishing with fresh berries, sprinkles, or metallic dragées can also add texture and sophistication to your heart cake design.
Conclusion
Your homemade masterpiece is ready to shine! From shaping layers to flawless piping, each step brings you closer to a stunning dessert. Experiment with colors try ombré or bold hues and personalize messages for any occasion.
Store leftovers in the fridge for up to 4 days or freeze slices for 3 months. Tag @sugarandsparrowco to showcase your work your creativity might inspire others!
This sweet gesture turns moments into memories. Whether it’s a birthday or a surprise, the effort speaks louder than words. Now, slice, serve, and savor the joy.
** Similar meals that may interest you: