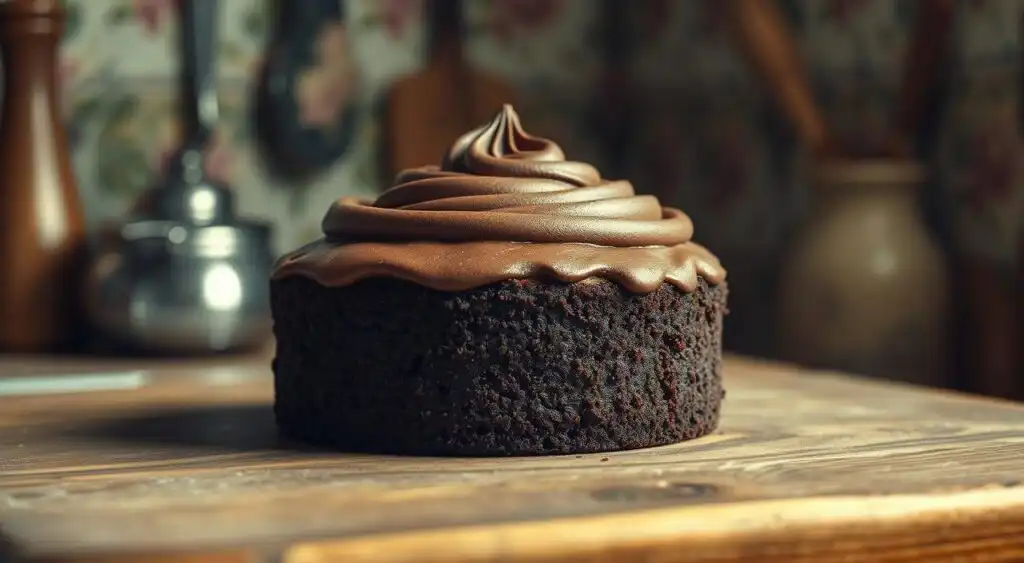
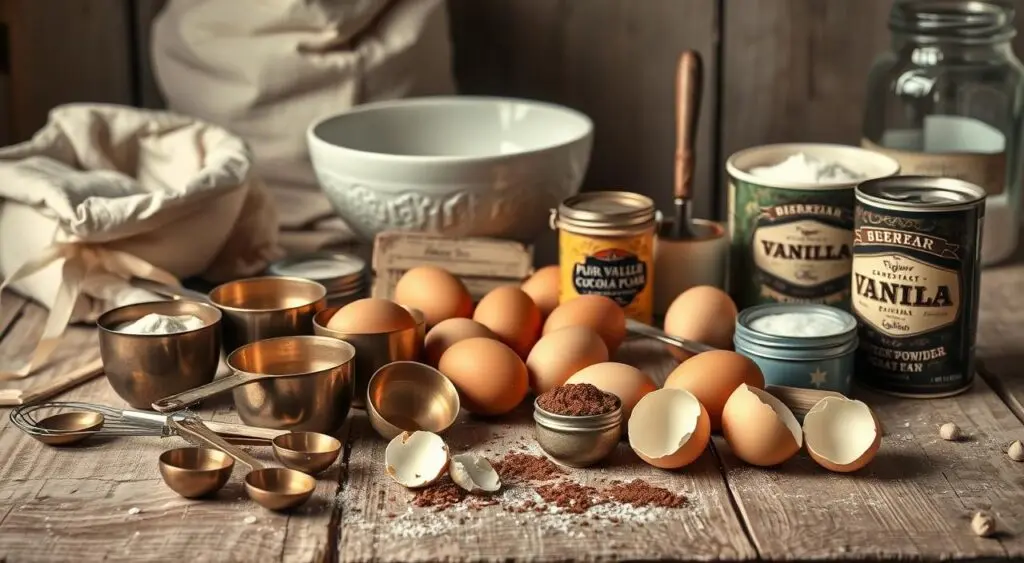
There’s something magical about baking a dessert that carries a piece of history. Imagine pulling a rich, moist cake from the oven, its aroma filling your kitchen with nostalgia. This isn’t just any dessert—it’s a taste of the past, perfected over generations. A 1920s chocolate cake represents a perfect blend of simplicity and flavor that stands the test of time. In an era when kitchens were less equipped, ingredients were often limited to what was available at the local market. Bakers had to rely on their ingenuity. They needed creativity to create something unforgettable. And with just a few basic pantry staples—flour, sugar, cocoa powder, and a touch of vanilla—this cake became a household favorite.
In the 1920s, home cooks didn’t have the luxury of intricate tools or pre-made ingredients. They worked with what they had, creating comforting, reliable desserts that were made from scratch. This Explores the rich and timeless flavor of a 1920s chocolate cake. With simple ingredients and a touch of vintage charm, this recipe delivers a moist, decadent cake that’s perfect for any occasion. Delight in a taste of history with this traditional dessert that’s just as loved today as it was in the Roaring Twenties., with its deep, rich flavor and moist crumb, was a reflection of the creativity and resourcefulness of bakers during that time. And while much has changed in the world of baking, this classic cake recipe remains a delightful way to honor the past.
Today, this timeless recipe stays true to its roots, while fitting seamlessly into modern kitchens. With just 50 minutes of total time, you can recreate a slice of culinary history that’s both familiar and comforting. The simplicity of the ingredients ensures that even beginner bakers can master the recipe without any hassle. No need for fancy tools—just a mixing bowl, a 9-inch pan, and a bit of patience.
Whether you’re celebrating a special occasion or simply craving a sweet escape, this 1920s chocolate cake delivers on all fronts. Its balanced sweetness and rich chocolate flavor come from straightforward ingredients that don’t need to be complicated. The cake’s tender crumb and melt-in-your-mouth goodness are all thanks to the simple yet effective technique passed down through generations. It’s a perfect example of how some of the best things in life are the simplest ones.
Ready to step back in time? Let’s bring this cherished classic to life and fill your kitchen with the kind of warm, nostalgic aroma that only a vintage dessert can offer. Whether it’s for a family gathering or an intimate moment with a cup of tea, this chocolate cake is sure to transport you to a simpler, sweeter time.
Table of Contents
Discover the Charm of a 1920s Chocolate Cake
Baking this dessert connects you to a time when simplicity ruled the kitchen. Home cooks relied on basic pantry staples like flour, sugar, and cocoa powder to create comforting treats. Economic constraints shaped these recipes, making them resourceful yet delicious.
Hot water or coffee plays a surprising role in enhancing the richness of the flavor. This technique, still used today, unlocks deeper notes in the cocoa. The result? A moist, velvety texture that stands out.
During tough times, bakers got creative. Vinegar mixed with baking soda replaced eggs, proving necessity sparks innovation. This combo activates leavening, giving the dessert its signature rise.
- Regional twists: Some areas used sour milk instead of fresh, adding tang.
- Modern swaps: Dutch-process cocoa deepens the flavor, while oil keeps it moist.
- Time-saving: Quick prep means you spend less time mixing, and more time enjoying.
Nutritional differences from modern versions are striking. Less butter and more pantry staples kept calories in check. Yet, the taste remained unforgettable—a testament to clever baking.
Whether you follow the original or try a vegan adaptation, the essence stays true. Each bite carries history, flavor, and a dash of nostalgia.
Why This Vintage Chocolate Cake Stands the Test of Time
Few desserts carry the legacy of resourcefulness like this one. Born from economic hardship, its ingredients reflect creativity—vinegar and baking soda replaced eggs, while oil was swapped for butter. Yet, the flavor remains unforgettable.

The Historical Significance of Depression-Era Baking
The 1930s forced cooks to rethink everything. Pantry staples like flour and sugar became heroes. Mayonnaise even starred in some batters, adding moisture without dairy. Nielsen-Massey vanilla elevated simple mixes, proving quality mattered.
What Makes This Cake Unique Compared to Modern Recipes
Today’s desserts often rely on excess—extra eggs, and layers of frosting. This version thrives on restraint. Hot coffee deepens the cocoa’s richness, while a tight crumb gives it a hearty charm. The table below highlights key differences:
| Feature | Vintage Cake | Modern Cake |
|---|---|---|
| Texture | Dense, moist | Light, fluffy |
| Fat Source | Oil or mayo | Butter |
| Sweetness | Subtle | Pronounced |
| Shelf Life | 5+ days | 2–3 days |
Adaptability is its superpower. Vegan? Skip eggs. Budget-conscious? Use basic cocoa. Each tweak honors its history while fitting your kitchen.
Ingredients You’ll Need for an Authentic 1920s Chocolate Cake
Gathering the right components is the first step to baking an authentic vintage dessert. Each ingredient plays a specific role, from creating structure to enhancing moisture. Precision matters—measure carefully for the best results.

Dry Ingredients for the Perfect Batter
Start with flour—2 cups of all-purpose works best. For a lighter texture, use bleached flour; unbleached adds heartiness. Combine it with 1½ cups sugar (cane or beet) for balanced sweetness.
Add ½ cup cocoa powder (Ghirardelli recommended) for deep flavor. Natural cocoa offers brightness, while Dutch process is richer. Don’t forget 1 tsp baking soda and ¼ tsp salt to lift and balance the taste.
Wet Ingredients to Create Moisture and Richness
Wet ingredients bind everything together. Use ½ cup melted butter or vegetable oil for tenderness. For a modern twist, avocado oil adds creaminess.
Whisk in 3 large eggs (room temperature) for structure. Replace with 1 tbsp vinegar + 1 tsp baking soda for a vegan version. Pour in 1 cup milk (whole or almond) and 1 tsp vanilla for richness.
Hot water or coffee (1 cup) intensifies the cocoa’s flavor. Filtered water ensures no off-tastes. Mix gently—overworking the batter toughens the crumb.
Step-by-Step Baking Instructions
Perfecting this classic dessert starts with mastering the baking process. Each step ensures a moist, flavorful result—just like bakers achieved decades ago. Follow these guidelines to avoid common pitfalls and celebrate success.
Preparing Your Pans and Mixing the Batter
Begin by preheating your oven to 350°F (175°C). Grease two 9-inch round pans with shortening and dust with flour, or line them with parchment paper for easy removal.
Whisk dry ingredients—flour, sugar, cocoa, baking soda, and salt—in a large bowl. Sifting eliminates lumps for a smoother batter. In another bowl, combine wet ingredients: eggs, milk, oil, and vanilla extract.
Gradually blend the wet mixture into the dry ingredients. Stir just until combined; overmixing causes toughness. Slowly add hot water or coffee—the batter will be thin, ensuring even baking.
Baking and Testing for Doneness
Divide the batter evenly between pans. Bake for 30–35 minutes. Rotate pans halfway for uniform browning. Check doneness by inserting a toothpick—it should come out clean.
Cool cakes in pans for 10 minutes before transferring to a wire rack. This prevents sogginess. For layer cakes, trim domed tops with a serrated knife once fully cooled.
- Altitude adjustments: Reduce baking powder by ⅛ tsp above 3,000 feet.
- No toothpick? Gently press the center—it should spring back.
- Troubleshooting: Cracks mean too much heat; sinking suggests underbaking.
Essential Equipment for Baking Like It’s the 1920s
The right tools transform baking from a chore to a joyful tradition. Vintage kitchens relied on sturdy, multipurpose gear—think cast iron skillets and hand-crank mixers. Today, modern alternatives streamline the process without sacrificing authenticity.
Start with your bowl. Milk glass or stainless steel ensures even mixing and durability. For pans, two 9-inch rounds are ideal for layer desserts. Pro tip: Grease with shortening and dust with flour for easy release.
Offset spatulas remain unmatched for frosting. Their angled blades glide smoothly, creating sharp edges. Prefer vintage charm? A Sunbeam Mixmaster handles batter at three speeds—gentle folds or vigorous blends.
- Cooling racks: Wire designs promote airflow, preventing sogginess.
- Parchment paper: Cut circles to fit pans for foolproof removal.
- Thermometers: Analog models ensure precise oven temps.
“Tools should serve the baker, not the other way around.”
Storage matters too. Airtight tins keep desserts fresh for days. Whether you embrace vintage gear or modern upgrades, the goal is the same—flawless results with every bake.
Serving Suggestions and Pairings
Elevate your dessert experience with creative ways to enjoy this classic treat. The right pairings can transform a simple slice into a memorable moment. From vintage-inspired beverages to modern twists, here’s how to serve it best.
For a timeless touch, dust the top with powdered sugar or a light sprinkle of cocoa. This adds visual appeal without overpowering the flavor. A dollop of freshly whipped cream balances the richness.
Temperature matters. Serve slightly warmed to enhance the aroma, or chilled for a firmer texture. Room temperature works well for layered presentations.
“Pairing is an art—balance sweetness with contrast.”
Try these crowd-pleasing combinations:
- Ice cream: Vanilla bean or coffee-flavored gelato complements the deep cocoa notes.
- Beverages: Hot coffee or a frothy root beer float echoes 1920s charm.
- Sauces: Drizzle caramel for buttery depth or berry coulis for tart freshness.
- Dietary swaps: Coconut whipped cream or almond milk foam for lactose-free options.
For gatherings, cut smaller portions—about 2-inch squares—to encourage sampling. Store leftovers in an airtight container for up to 4 days. Freeze slices wrapped in parchment for future cravings.
During holidays, adorned with edible gold leaf or seasonal sprinkles. For themed parties, pair with mini milkshakes or vintage candy displays. The possibilities are as endless as your creativity.
Conclusion
This cake isn’t just a treat—it’s a slice of history. By baking it, you preserve a tradition that thrives on simplicity and creativity. Each bite connects you to generations who value resourcefulness in the kitchen.
Feel free to experiment. Swap ingredients or adjust sweetness to match your taste. Sustainable choices like plant-based milk or organic cocoa honor the past while fitting modern values.
Share your results with family or friends. Teach younger bakers the joy of timeless desserts. A photo of your creation keeps the tradition alive for others to enjoy.
Ready to bake? Gather your tools, follow the steps, and savor every moment. The reward is more than flavor—it’s a delicious link to the past.
1 thought on “How to Make a Classic 1920s chocolate cake At Home”